
Use MariaDB instead of SQLite Database in Home Assistant
By default, Home Assistant uses a SQLite database to store all its historical data. However, you can use other databases such as MariaDB which perform better for larger datasets even though MariaDB is is heavier on hardware resources than SQLite. If your Home Assistant produces a lot of data, switching databases is one way you can boost performance as long as your hardware is not too slow (I would not recommend using an older Raspberry Pi, for example).
When looking up information about changing the database Home Assistant uses, I saw some say one reason for switching is to have a more reliable database since the SQLite database can randomly become corrupt. I do not know how prevalent this issue issue is. In the year or more of running Home Assistant using the default database, I did not see it happen, but I am also running it in a virtual machine on my server rather than on a Raspberry Pi which uses a microSD card. Database reliability may be another reason you may wish to switch to MariaDB.
This guide will use the official MariaDB add-on. If you are already using MariaDB for other purposes such as for Nginx Proxy Manager, you can also use it for Home Assistant itself so that is convenient.
Warning: You will lose any current history when switching to MariaDB. I do not know if it is possible to migrate the data from SQLite to MariaDB. That is beyond the scope of this guide.
Install MariaDB Add-on
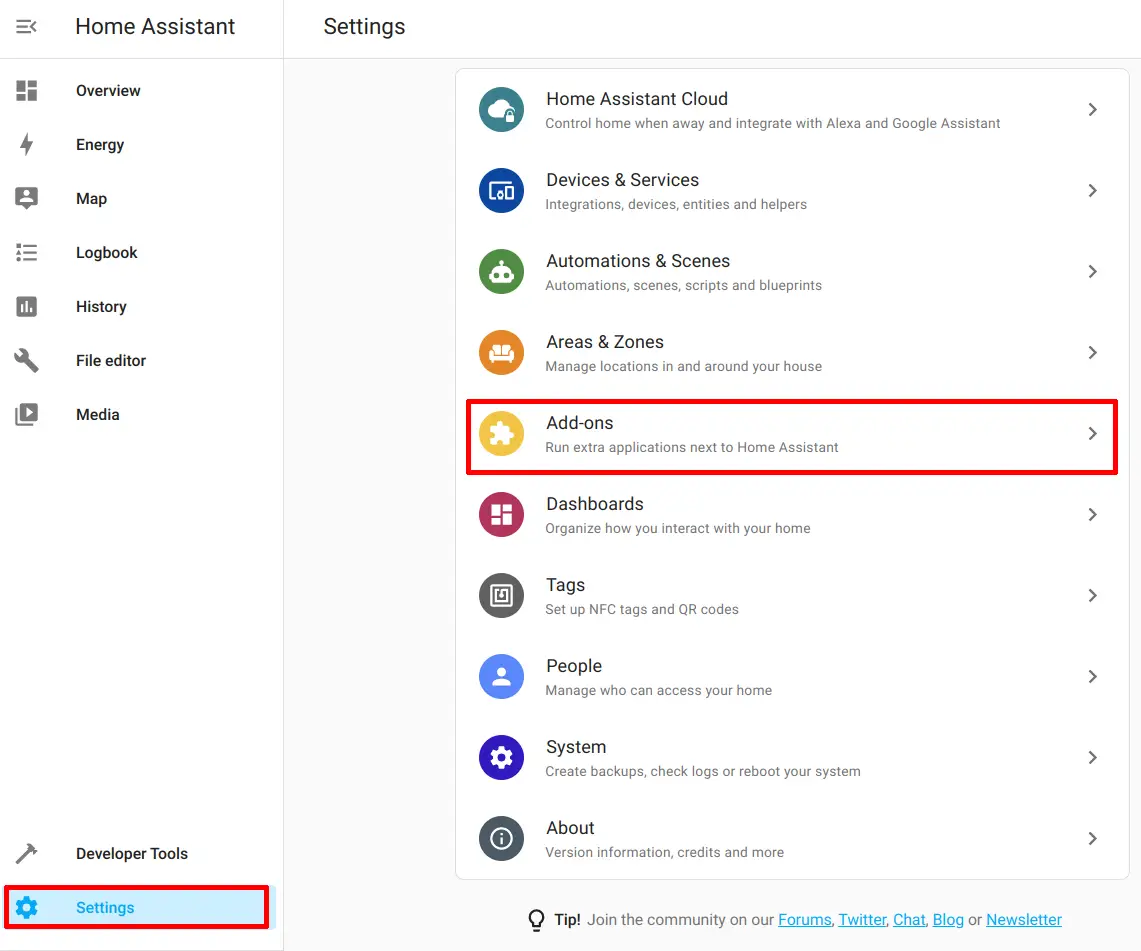
If you do not already have MariaDB installed, you will need to go to the “Settings > Add-ons” page.
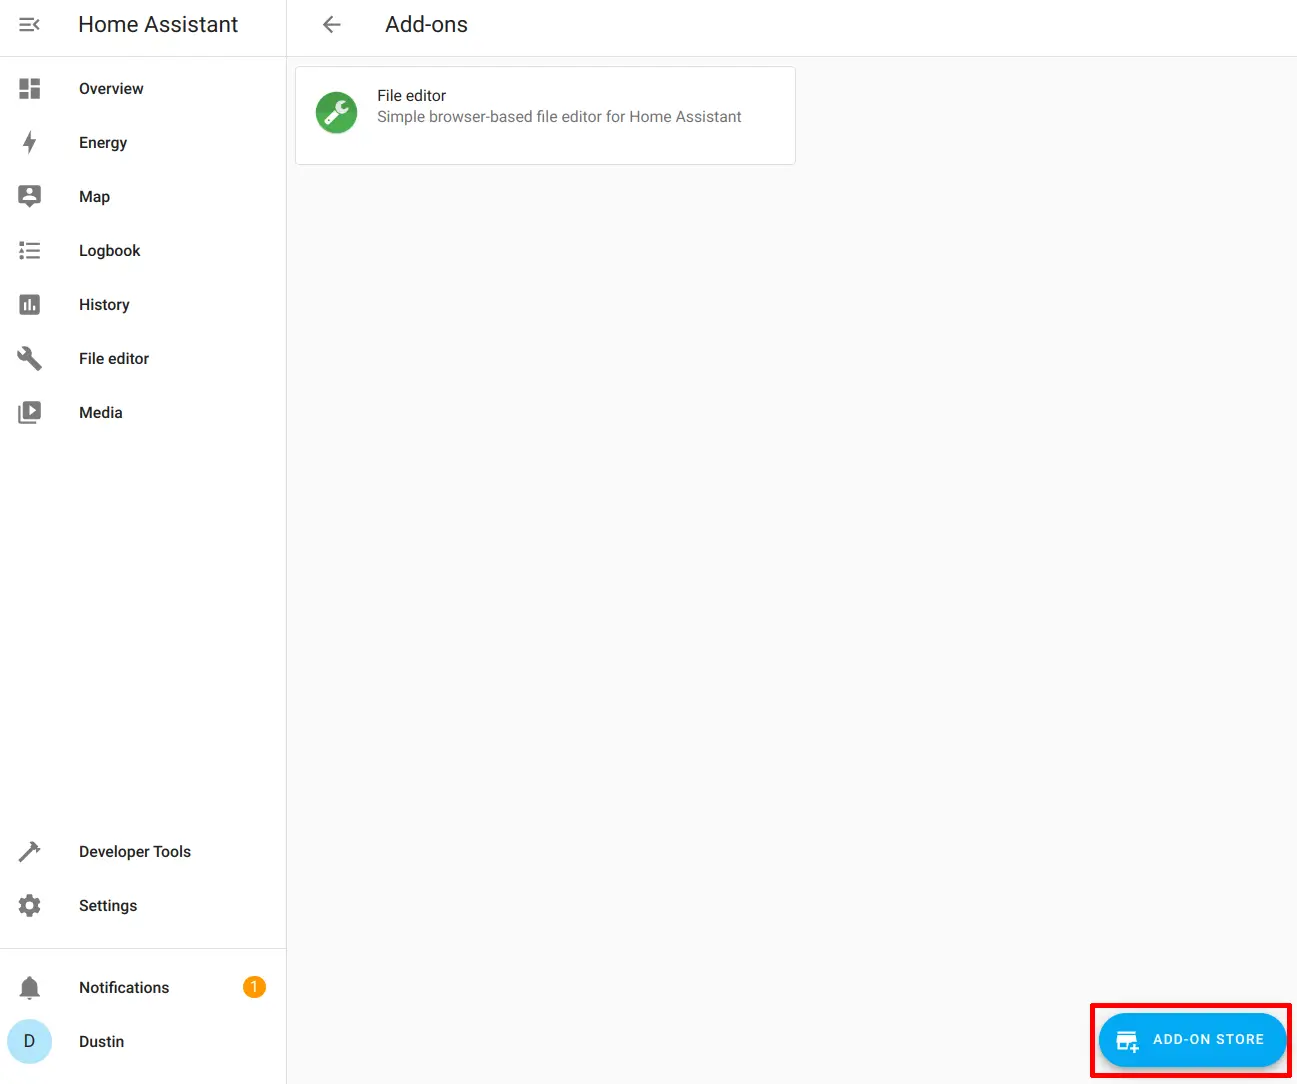
Click the “Add-on Store” button.
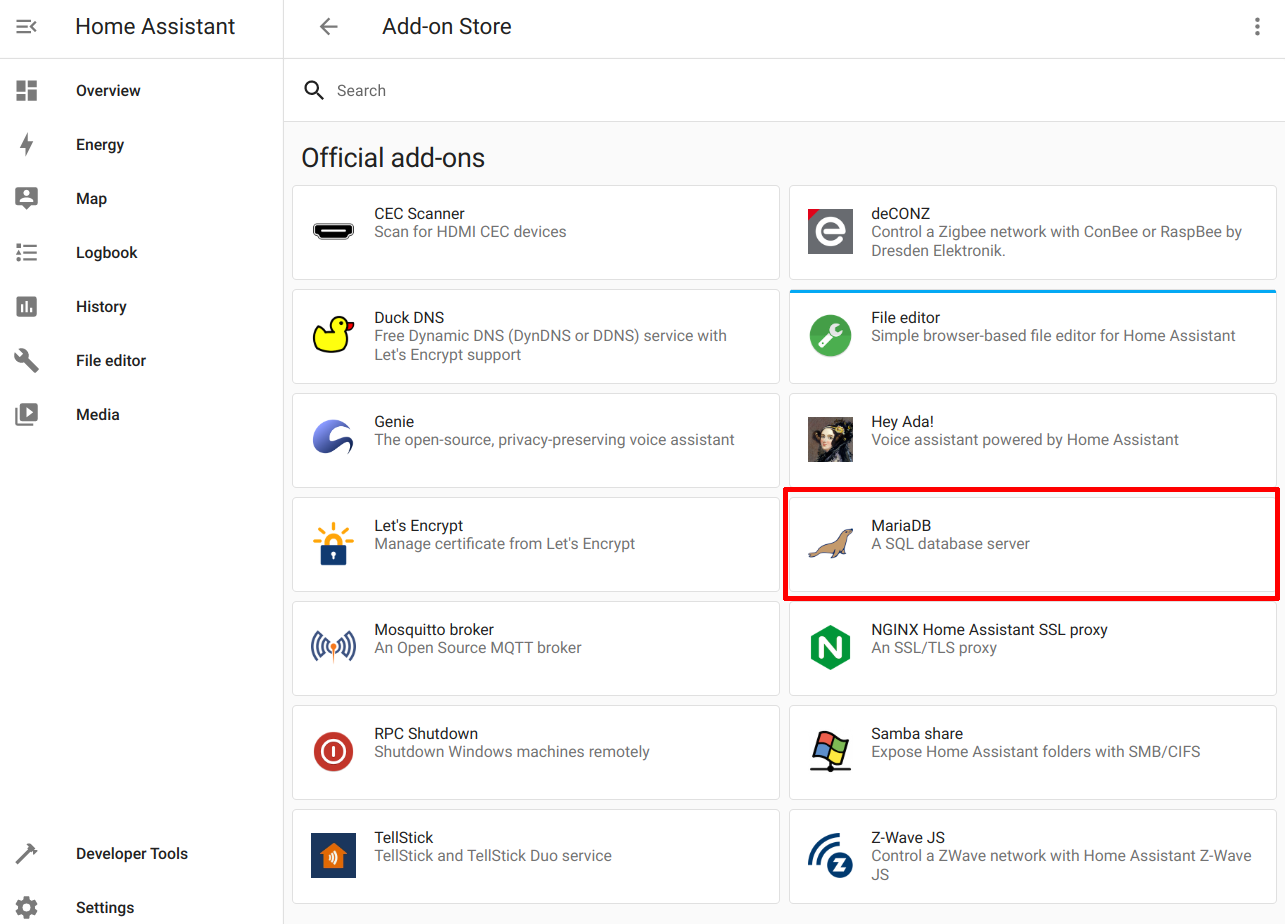
Choose the “MariaDB” add-on.
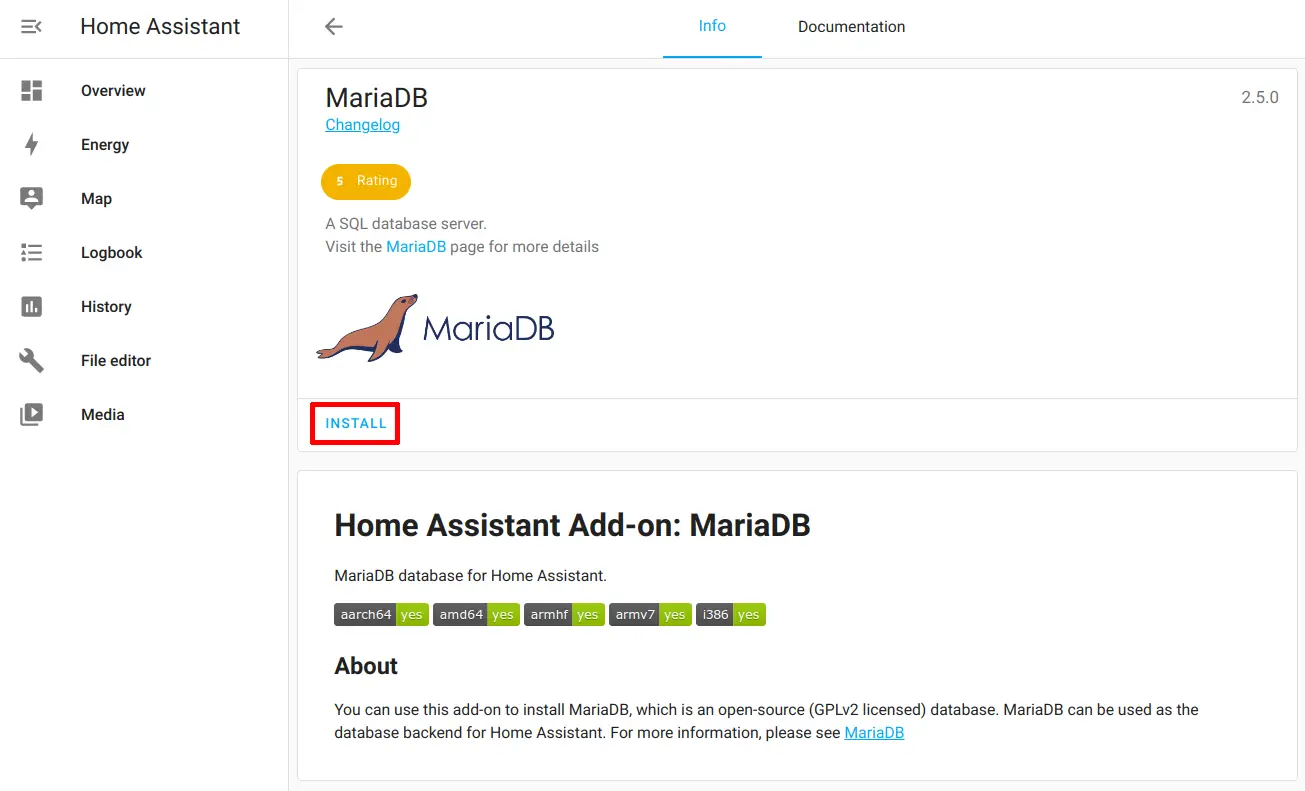
Click the “Install” button to install the add-on.
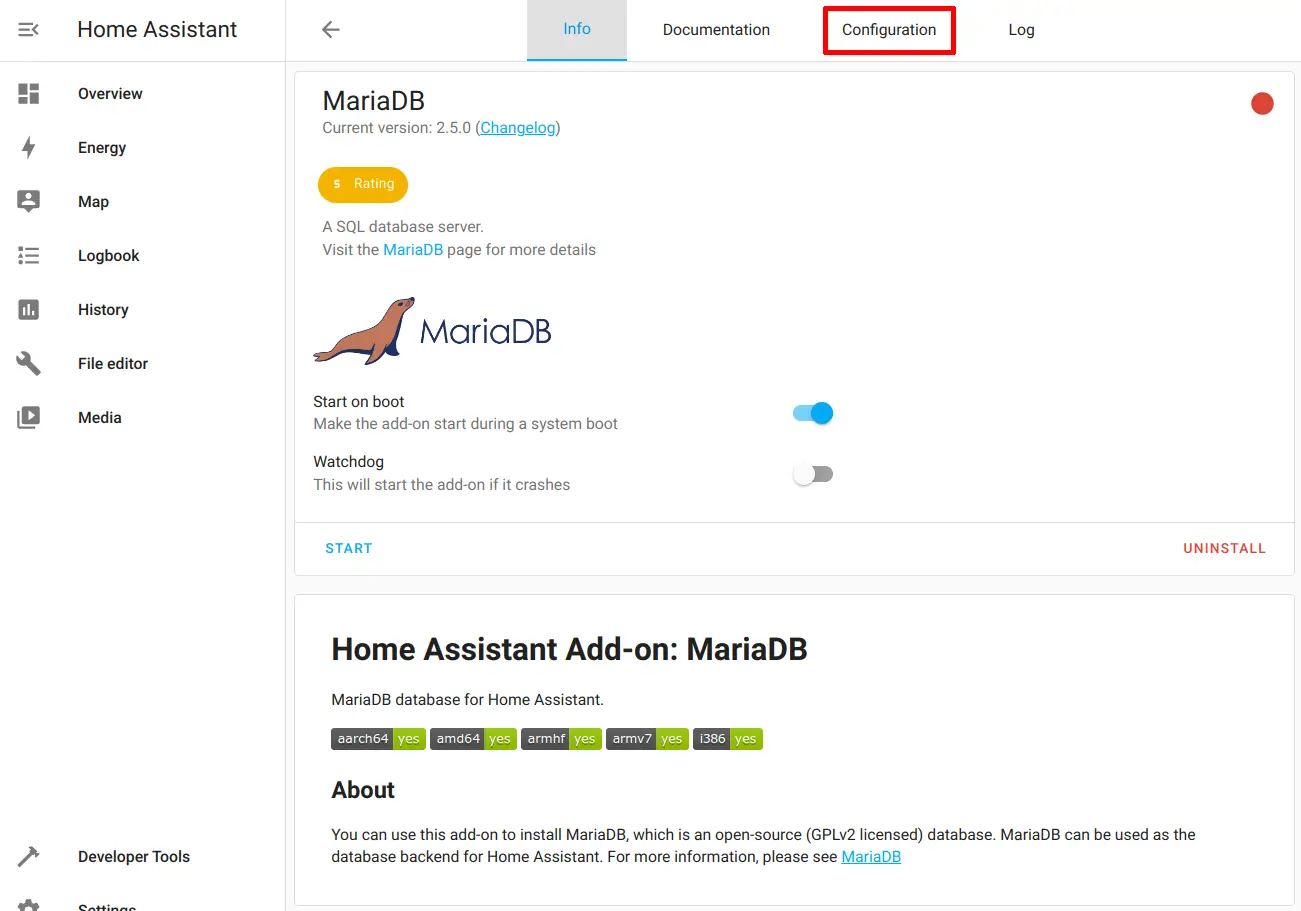
Before clicking the “Start” button, go to the “Configuration” tab so that you can set the password for the default user.
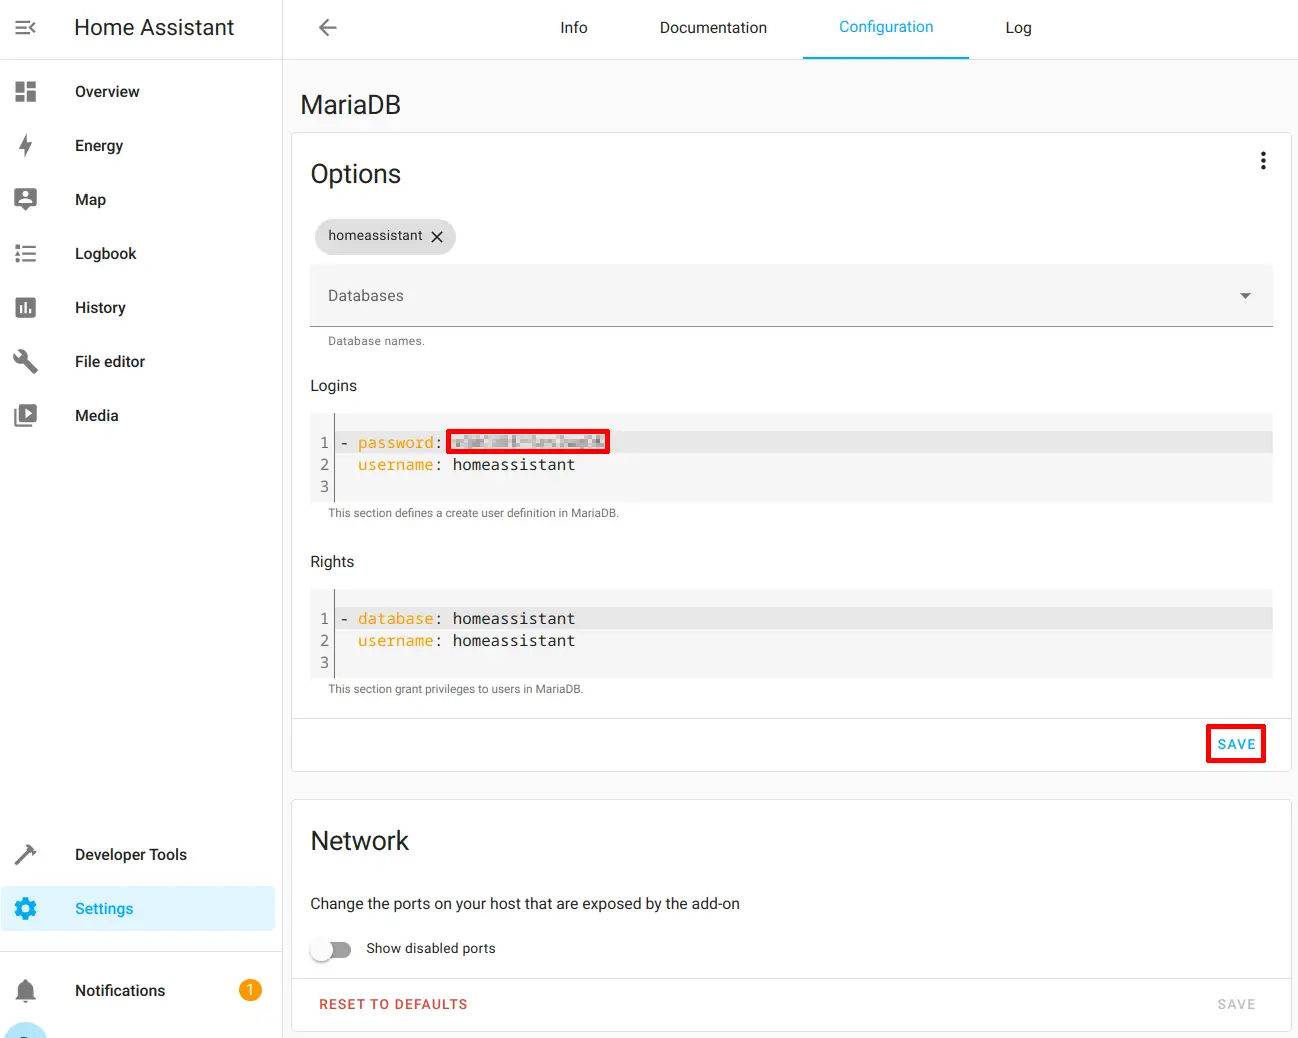
Enter your desired password in the “Logins” section. You may leave the username and database with the default name of homeassistant. Click “Save” to persist the changes.
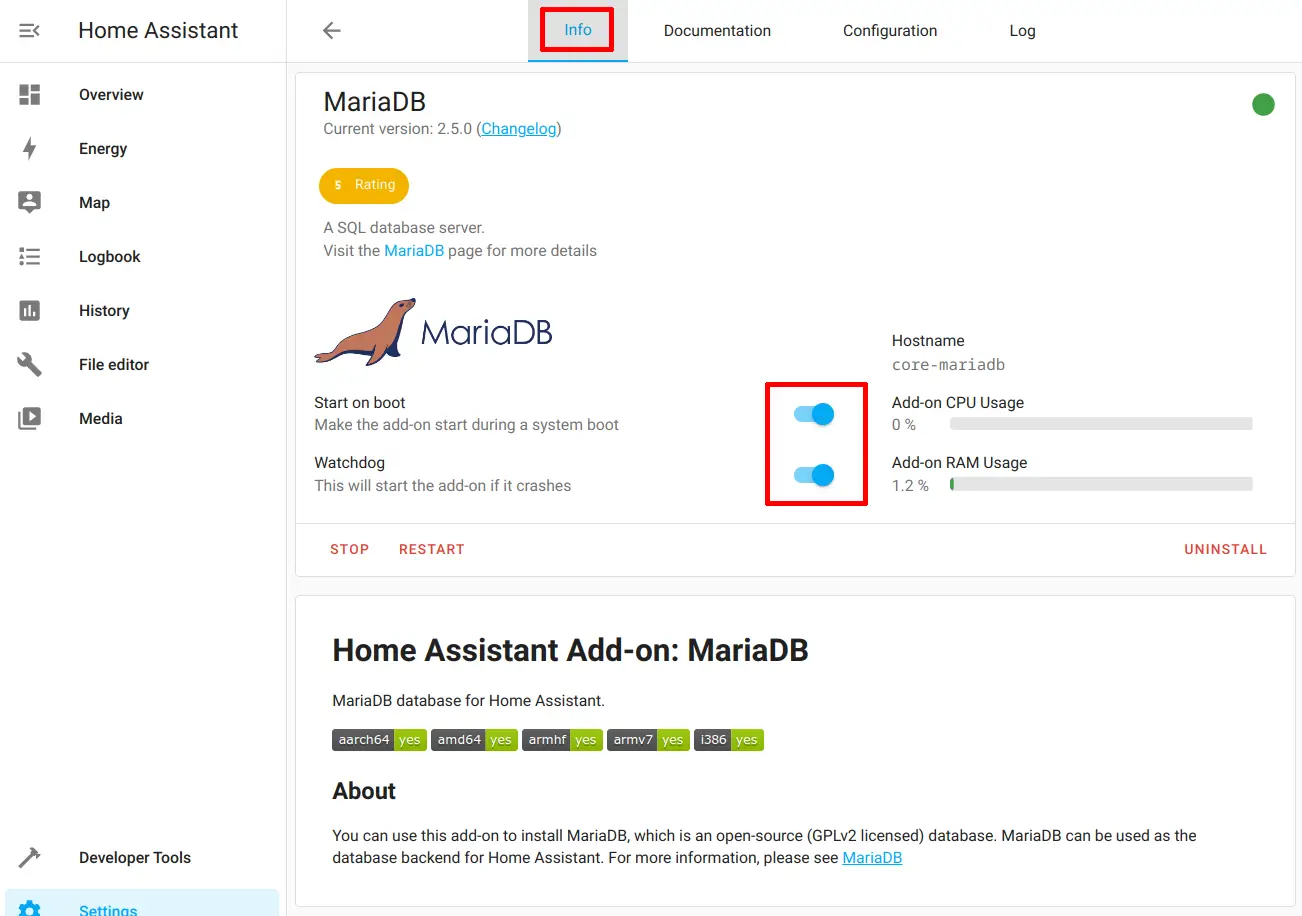
Go back to the “Info” tab and click the “Start” button. You may want to enable the “Watchdog” so that the database service will restart if it crashes.
That is all you need to do to install MariaDB. It is a pretty simple add-on to configure.
Edit Configuration Files
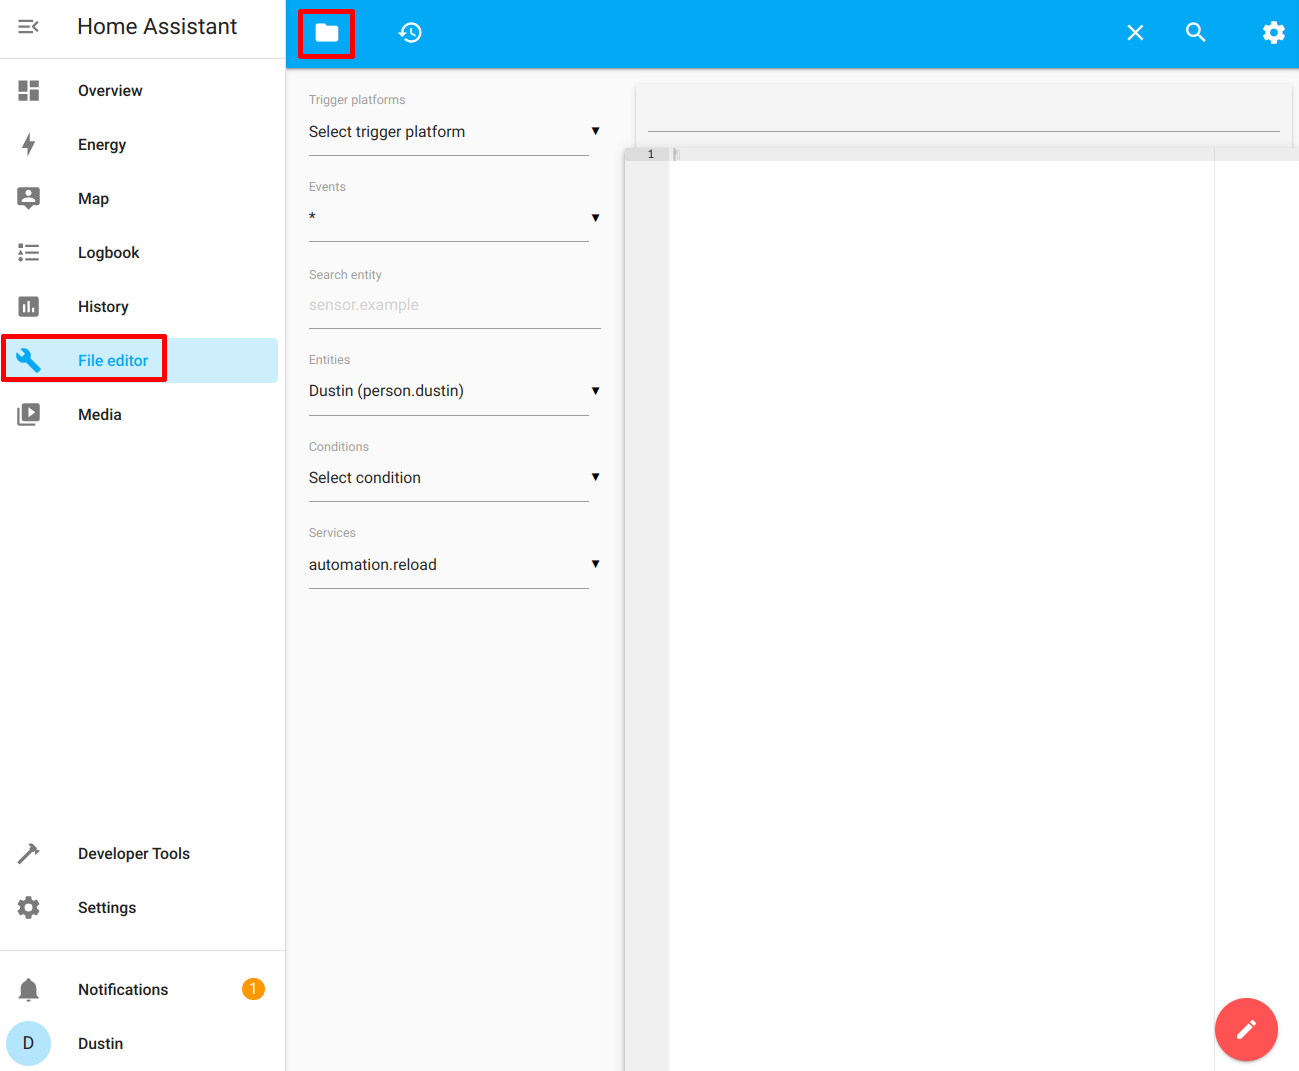
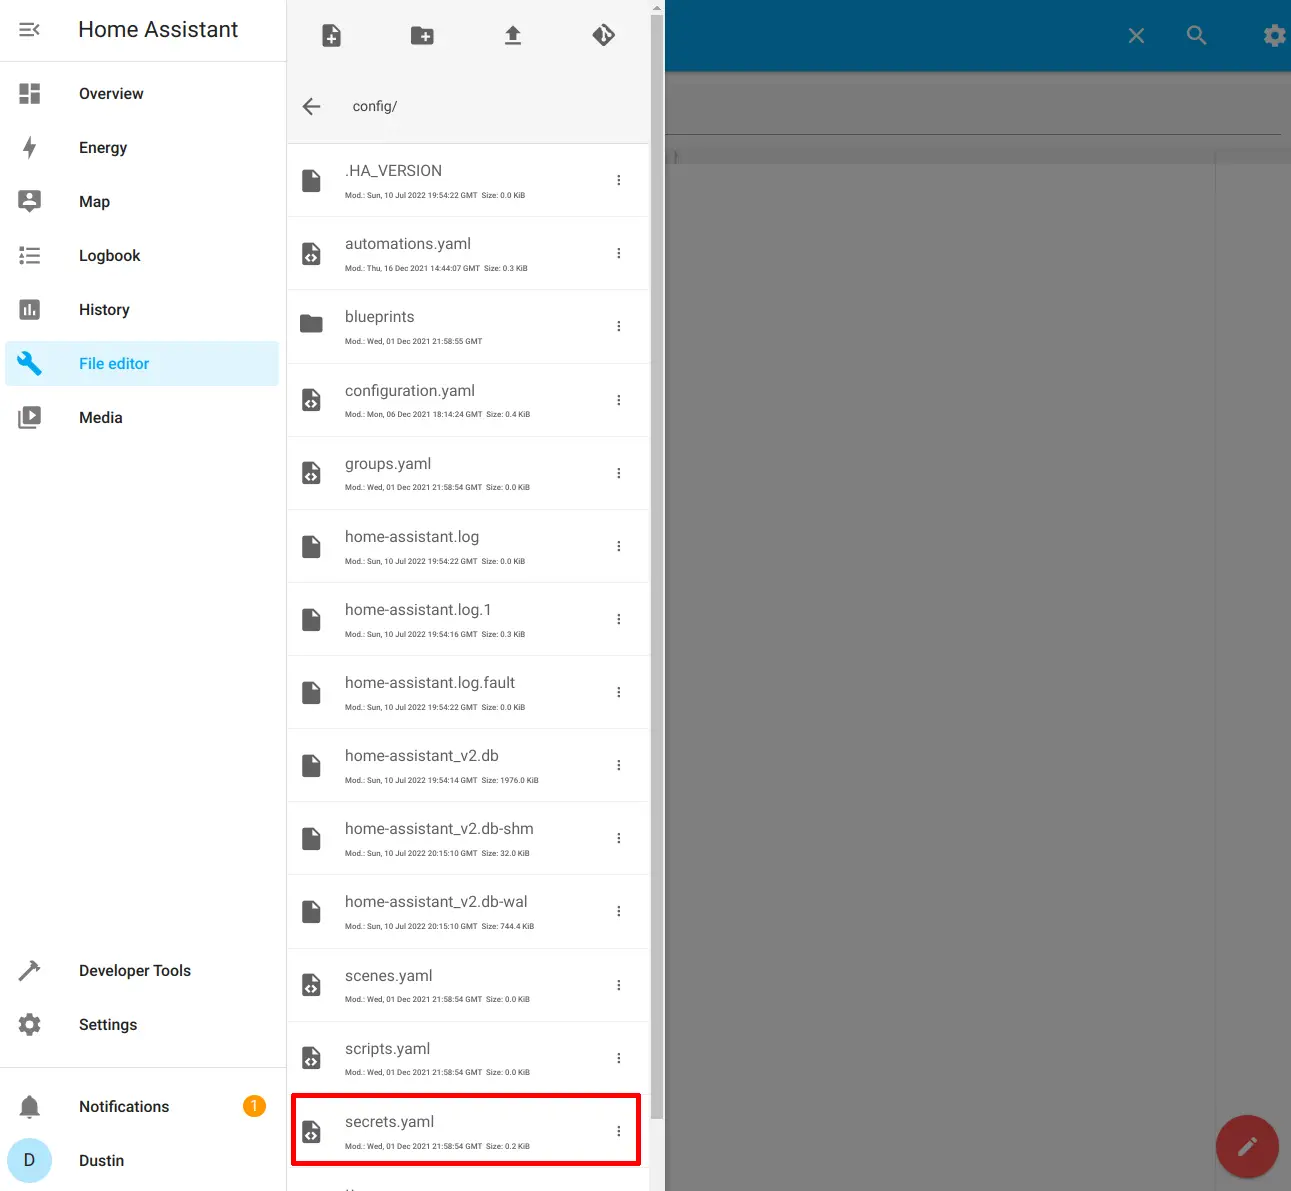
You will need to edit two configuration files so that Home Assistant will use the MariaDB database. Using the “File editor” add-on, click on the folder icon.
Secrets.yaml
Choose the secrets.yaml file so that you can add the MariaDB URL string with the username and password you used when you configured the MariaDB add-on. You do not technically have to use the secrets.yaml file, but that is where it is recommended to put any sensitive information to minimize exposing it especially if you are sharing your configuration file with others to help you troubleshoot your configuration. It also centralizes your sensitive information in one location.
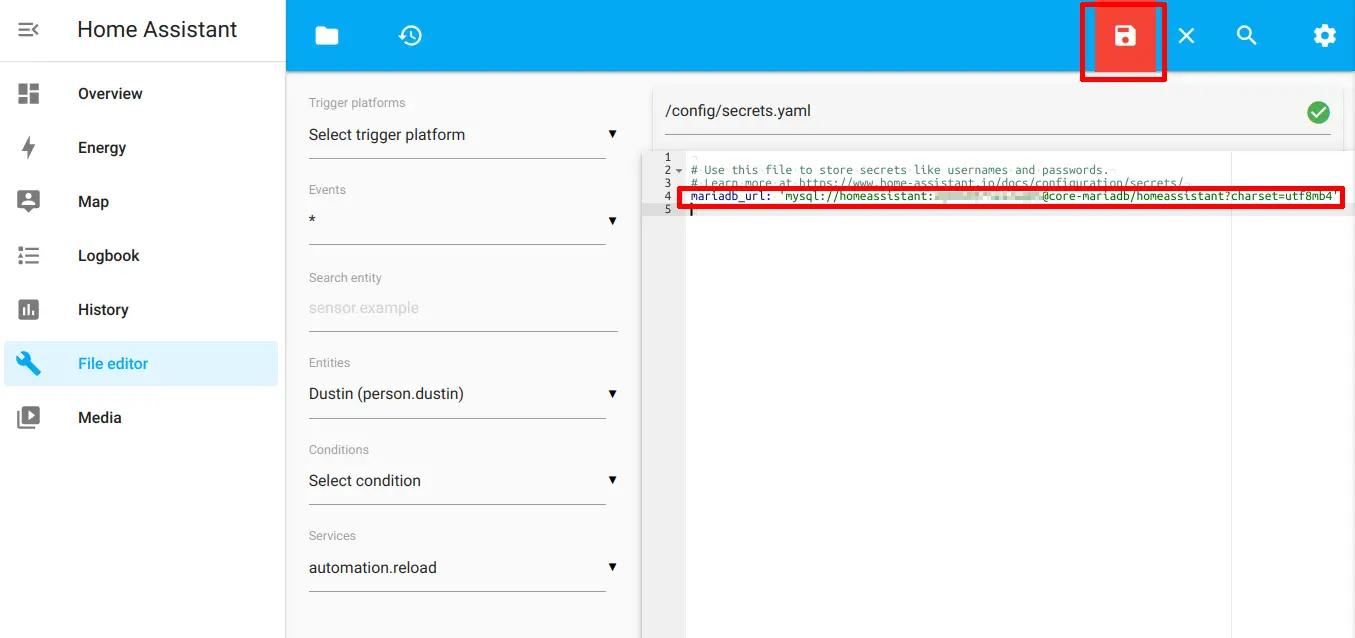
Enter the following text in the file. If you left the username and database name as the default homeassistant, you only need to substitute yourpassword with your actual password:
mariadb_url: 'mysql://homeassistant:yourpassword@core-mariadb/homeassistant?charset=utf8mb4'
The screenshot below illustrates what it should look like in the file editor:
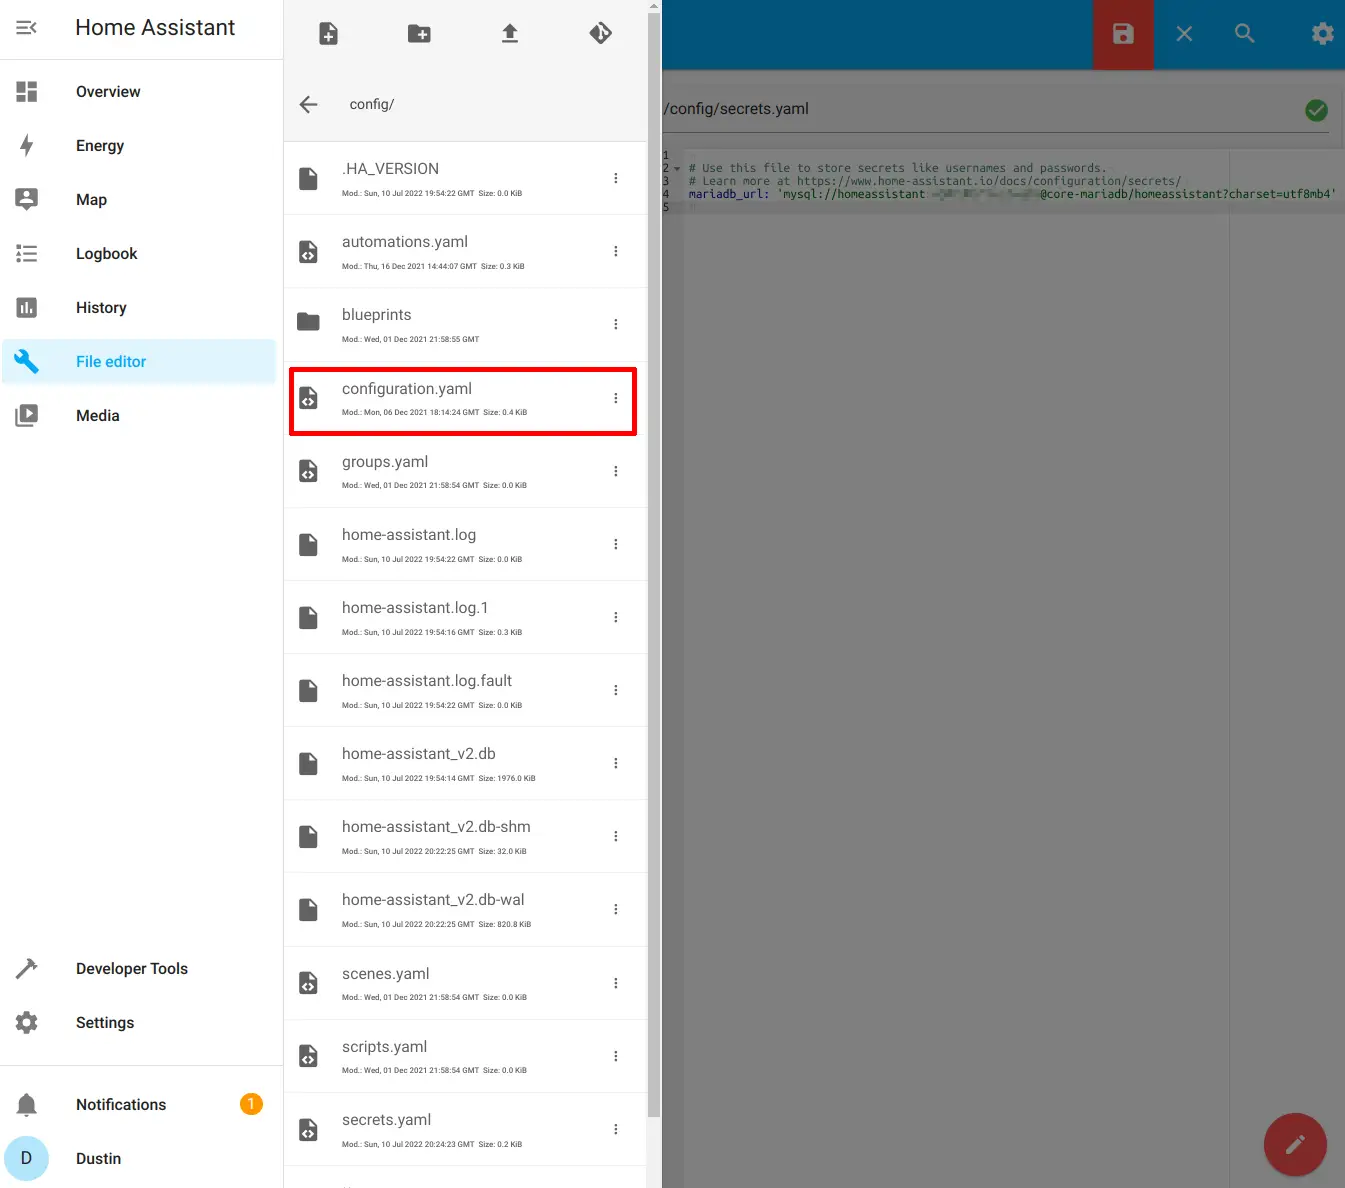
Configuration.yaml
In the File editor, click on the configuration.yaml to set the recorder option in Home Assistant. The recorder option allows you to change the default database in Home Assistant.
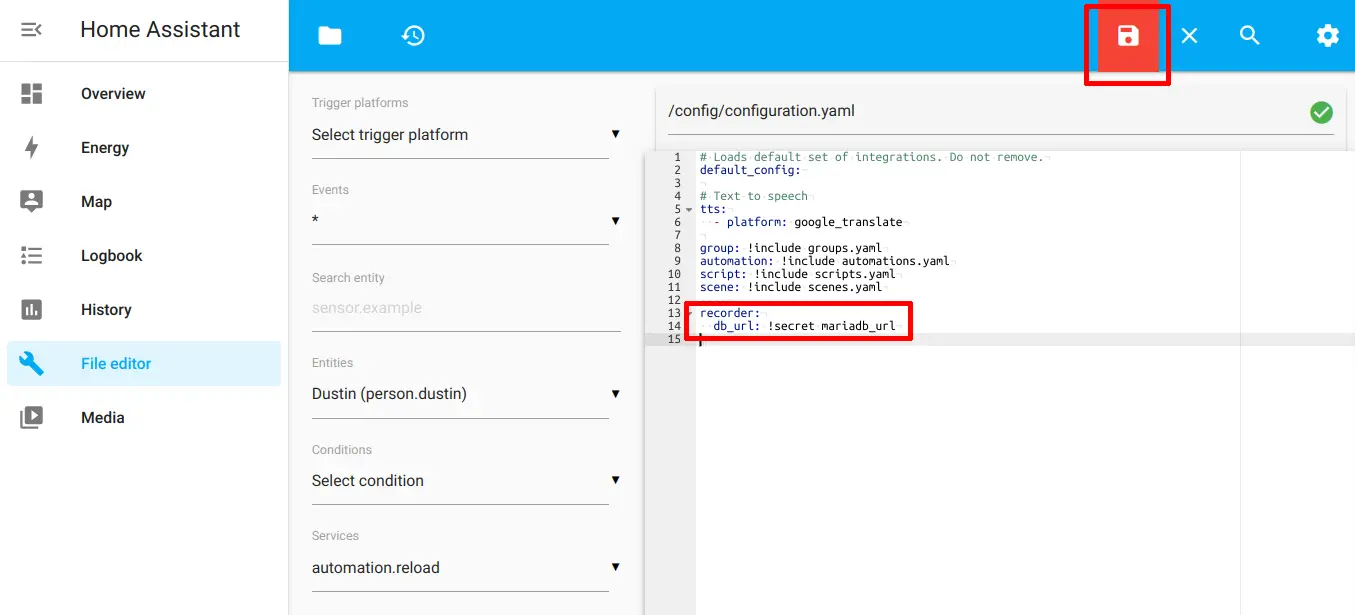
Enter the following text in the configuration file. The db_url is using the mariadb_url value that we set in the secrets.yaml file in the previous step.
recorder:
  db_url: !secret mariadb_url
If you are using a microSD card since you are running Home Assistant on a Raspberry Pi, you can also set the commit_interval to a higher value such as 30 for 30 seconds. This decreases the frequency of database writes to the disk which can prolong the life of the microSD card. However, that also means that history and log entries will be on a 30 second delay, but it may be worth it to reduce wear. You may further reduce the wear on your microSD card and/or decrease the amount of disk spaced used by the database by including or excluding certain entities from being tracked. See the exclude or include configuration options and more on the Home Assistant “Recorder” page
Click the “Save” icon to save the changes to the configuration.
You may check if you have a valid configuration file by going to “Developer Tools” and clicking on “Check Configuration”, but I found that it does not catch all issues. I had a typo in my configuration file, which I only discovered after I restarted the system.
Restart Home Assistant
Restart Home Assistant so it can start using the newly configured MariaDB database. If you see the “Logbook” and “History” on the left sidebar, that is a good indication everything has gone well because if Home Assistant cannot connect to the database, those sidebar options are missing since it has nowhere to store that data. I discovered that when I had a typo in my configuration file. For even more assurance, you may view the system logs (“Settings > System > Logs”) to ensure you do not see any database connection errors.
If you had any prior data in your History or Logbook, you will notice it will be blank or have a couple of entries from any activity that occurred since you restarted Home Assistant.
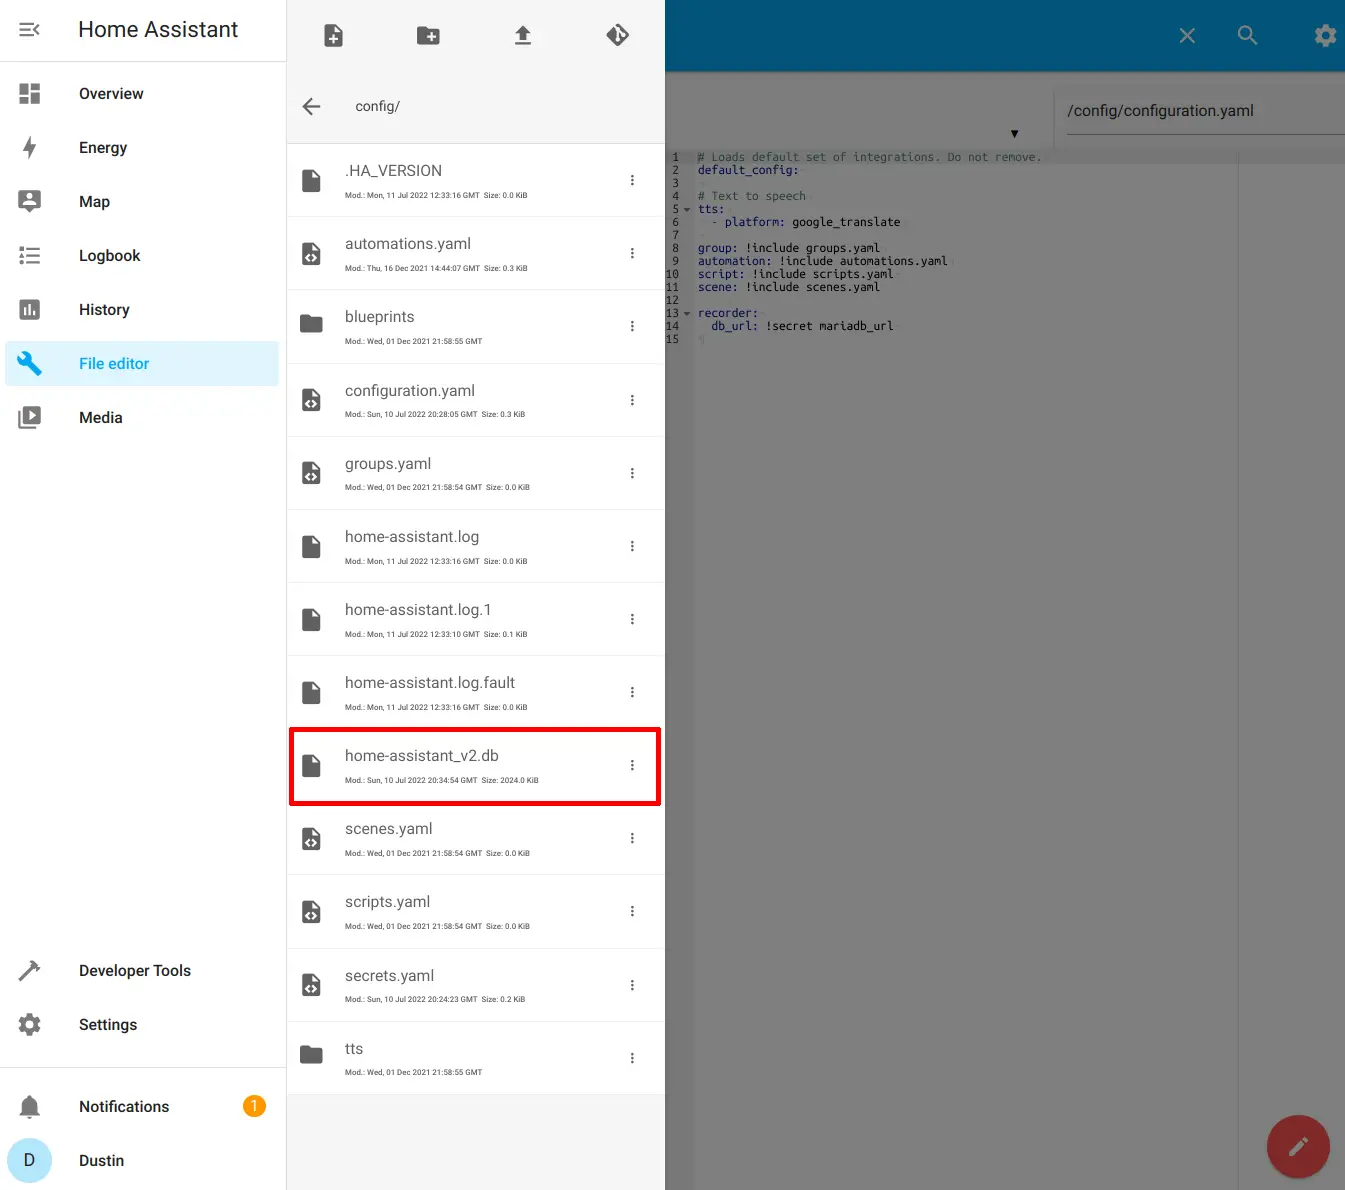
Remove the Old SQLite Database (Optional)
If you have been using Home Assistant for a while, your old SQLite database may be quite large. You can free up disk space by removing the old SQLite database file via the “File editor” add-on. Click on the folder icon and choose the home-assistant_v2.db file by clicking on the 3 dots. Then delete the file.
Related Posts

How to Set Up Nginx Proxy Manager in Home Assistant
If you wish to have secure connections to Home Assistant, a reverse proxy may be used. The proxy can reside on the same system (as demonstrated in this guide) or on another system as I have demonstrated in a previous guide.
Read more
How to Put Home Assistant behind Existing Nginx Proxy Manager
A reverse proxy allows you to conveniently have a single entry point by which you may host multiple apps/services on one or more systems.
Read more
Add the Community Add-on Repository in Home Assistant if it is not Installed
When I was updating the Home Assistant Core, I encountered an interesting issue. It broke my Z-Wave JS to MQTT add-on.
Read more